
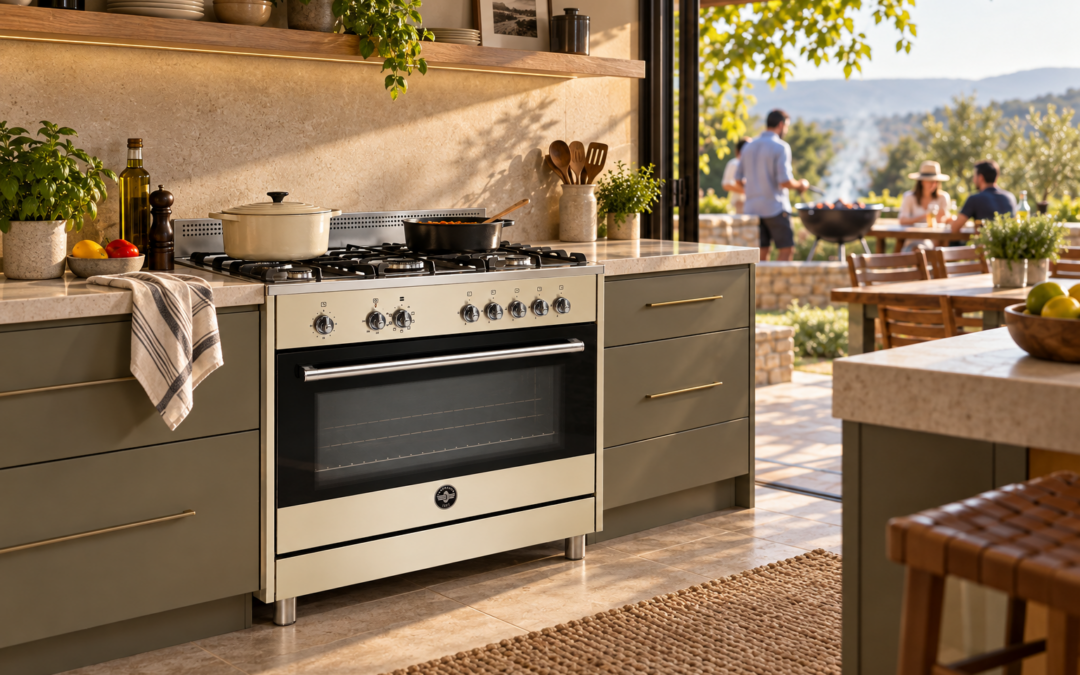
Heritage Day cooking has a rhythm of its own. Outside, the coals are ready, the wors is on the grid, the meat is sizzling and someone is working the tongs. Inside, the pap and chakalaka need attention, and there is usually at least one tray of something waiting for its turn.
That is where a well-used kitchen starts to earn its keep. Let the braai handle the flame, smoke and char while your La Germania takes care of the rest. Pap can simmer on one burner, chakalaka can cook on another, side dishes can roast in the oven, and finished food can stay warm while the last batch comes off the fire.
The aim is not to move Heritage Day away from the braai. It is to make the whole meal work better around it, so less time goes into juggling pots, trays and temperatures and more time goes into serving, sharing and enjoying the day.
In This Heritage Day Cooking Guide
- How to cook pap while the braai is busy, with simple heat-control tips to help prevent scorching
- How to make chakalaka without rushing it
- How to use the oven for braai side dishes
- How to keep cooked food warm without drying it out
- How to time a Heritage Day meal so the braai, hob and oven work together
- One South African-inspired Heritage Day plate that brings it all together
Heritage Day Cooking Tips for Keeping the Whole Meal Moving
Heritage Day falls on 24 September and celebrates the cultures and traditions that make up South Africa. Food often sits at the centre of the day, and the braai has become part of the way many families and friends gather, cook and share. You can read more about Heritage Day and South Africa’s public holidays on the South African Government website.
But a braai meal rarely begins and ends at the grid.
Give each heat source a job. Let the braai sear and char. Use the hob for dishes that need stirring and quick changes in temperature. Put the oven to work on sides that can roast while you get on with something else.
Instead of making one cooking area carry the entire meal, let the kitchen and braai work together.
How to Cook Pap While the Braai Is Busy
Pap has a habit of needing attention just as somebody outside calls for another pair of tongs.
Start it before the braai reaches its busiest point.
Bring the water up to temperature, add the maize meal according to your usual method and reduce the heat as the pap thickens. Steady heat gives you more control and helps prevent the base from catching.
Gas makes that adjustment easy. You can see the flame, turn it down immediately and respond to what is happening in the pot.
If you are still getting used to cooking over gas, our gas stove cooking tips cover heat control, burner choice and some of the everyday habits that make gas cooking easier.
How to Make Chakalaka Without Rushing It
While the pap cooks, put another burner to work.
Soften the onions first, add the peppers, stir through the spices and then bring in the tomato and remaining vegetables. Once everything starts cooking together, lower the heat and let the sauce reduce.
The vegetables soften, the sauce thickens and you can stir it as needed while moving between other jobs.
This is where multiple burners start earning their space. Pap can cook on one burner, chakalaka on another, while a smaller saucepan warms gravy, beans or sauce alongside them.
No pot needs to wait for its turn.
Let the Oven Handle the Braai Side Dishes
Not every braai side needs a place over the coals.
Roast pumpkin until the edges catch colour. Let potatoes crisp while the meat cooks outside. Slide in a tray of mielies, butternut or seasonal vegetables and let the oven handle the heat while you stir the pap or carry another platter outside.
Towards serving time, warm bread for a few minutes rather than trying to squeeze it onto an already crowded grid.
The trick is to plan backwards from when you want to eat. Start the dishes that can hold their heat first. Leave food that needs to come straight from the fire until later.
For more ways to put the oven to work, see our multifunction oven cooking tips.
How to Keep Food Warm Without Drying It Out
Heritage Day cooking rarely runs to one perfect clock. The first batch comes off the braai, the second still needs ten minutes, the pap is ready and the sides are waiting.
This is where the oven can help again.
Use a low oven as a short-term holding zone. Transfer cooked food to an oven-safe dish and keep it warm briefly rather than letting it cool and reheating it later.
The goal is to hold heat, not keep cooking.
You can also warm serving dishes for a few minutes before plating. Hot pap loses heat quickly in a cold ceramic bowl, so a warmed dish buys you a little more time.
These are small moves, but when several dishes need to reach the table together, they make a difference.
How to Time a Heritage Day Meal So Everything Arrives Together
Easier Heritage Day cooking starts before the first chop hits the board.
First, decide what can be made early. Chakalaka can cook ahead. Pumpkin, potatoes and other braai side dishes can start before the meat. Sauces can sit ready to warm.
Next, work out which dishes need attention closer to serving time. Pap belongs in this group, as does anything that needs to stay crisp.
Then let the braai handle the meat.
While someone works the tongs outside, the hob keeps the pots moving and the oven takes care of the sides. As each dish finishes, move it off the heat, cover it where appropriate and make space for the next job.
That is the real secret to easier Heritage Day cooking. You are not trying to cook less. You are giving each part of the meal the right place to cook.
If you regularly cook for family and friends, browse the La Germania appliance range to see how different cooker sizes and configurations can give you more room to work.
Put It Into Practice: Boerewors, Stywe Pap, Smoor and Roast Pumpkin
For a Heritage Day plate that uses the braai, hob and oven together, keep the menu familiar.
Start with the pumpkin. Cut it into even pieces, add a little oil and seasoning, then roast until a knife slips through easily and the edges start to brown.
Next, cook a simple tomato-and-onion smoor on the hob. Soften the onions, add chopped tomato and let the mixture reduce until it thickens.
Then move onto the pap. Once it reaches the consistency you want, lower the heat and keep it warm.
Finally, put the boerewors onto the braai. Let it cook over controlled heat and turn it as needed rather than moving it constantly around the grid.
Now everything has a job and a place. Pumpkin roasts in the oven, pap and smoor cook on the hob, and the wors sizzles outside.
The kitchen is not replacing the braai. It is helping it.
And that is a pretty lekker way to cook for a crowd.
Heritage Day Cooking FAQs
How do I stop pap from burning?
Once the pap thickens, reduce the heat and keep an eye on the base of the pot. Stir as your recipe requires and avoid leaving it over a high flame simply to speed things up.
What braai side dishes can I cook in the oven?
Pumpkin, butternut, potatoes, mielies and mixed vegetables all work well in the oven. You can also use it to warm bread or finish dishes that would otherwise take up valuable space on the braai.
Can I cook chakalaka ahead of time?
Yes. Chakalaka works well as a make-ahead side. Cook it earlier, then reheat it gently when the rest of the meal starts coming together.
What is the easiest way to cook for a crowd on Heritage Day?
Split the workload. Use the braai for food that benefits from direct heat and char, the hob for dishes that need stirring and temperature control, and the oven for roasting, warming and short-term holding.
Let the Braai Be the Braai
Heritage Day should smell of food cooking, sound like people talking and leave enough time for the cook to join in.
So let the coals glow and the wors sizzle. Let someone take charge of the tongs. Inside, put the burners and oven to work and keep the rest of the feast moving.
Because when the braai is busy, your La Germania can handle the rest.